README .NET datalayer.provider.alldata
This .NET sample provides all types of data to the ctrlX Data Layer tree.
IMPORTANT:
The sample creates and registers all nodes individually, which is recommended for small to medium sized set of nodes to handle. If you're dealing with a large set of nodes (big data provider) or any dynamic node hierarchy, we recommend to use a virtual provider approach, listening just to any wildcarded address ( e.g. myRoot/**) and using self-managed virtual nodes, just returned in OnBrowse() method, which is more efficient.
Please read the Best Practise section in common .NET documentation for more details and recommended samples.
Introduction
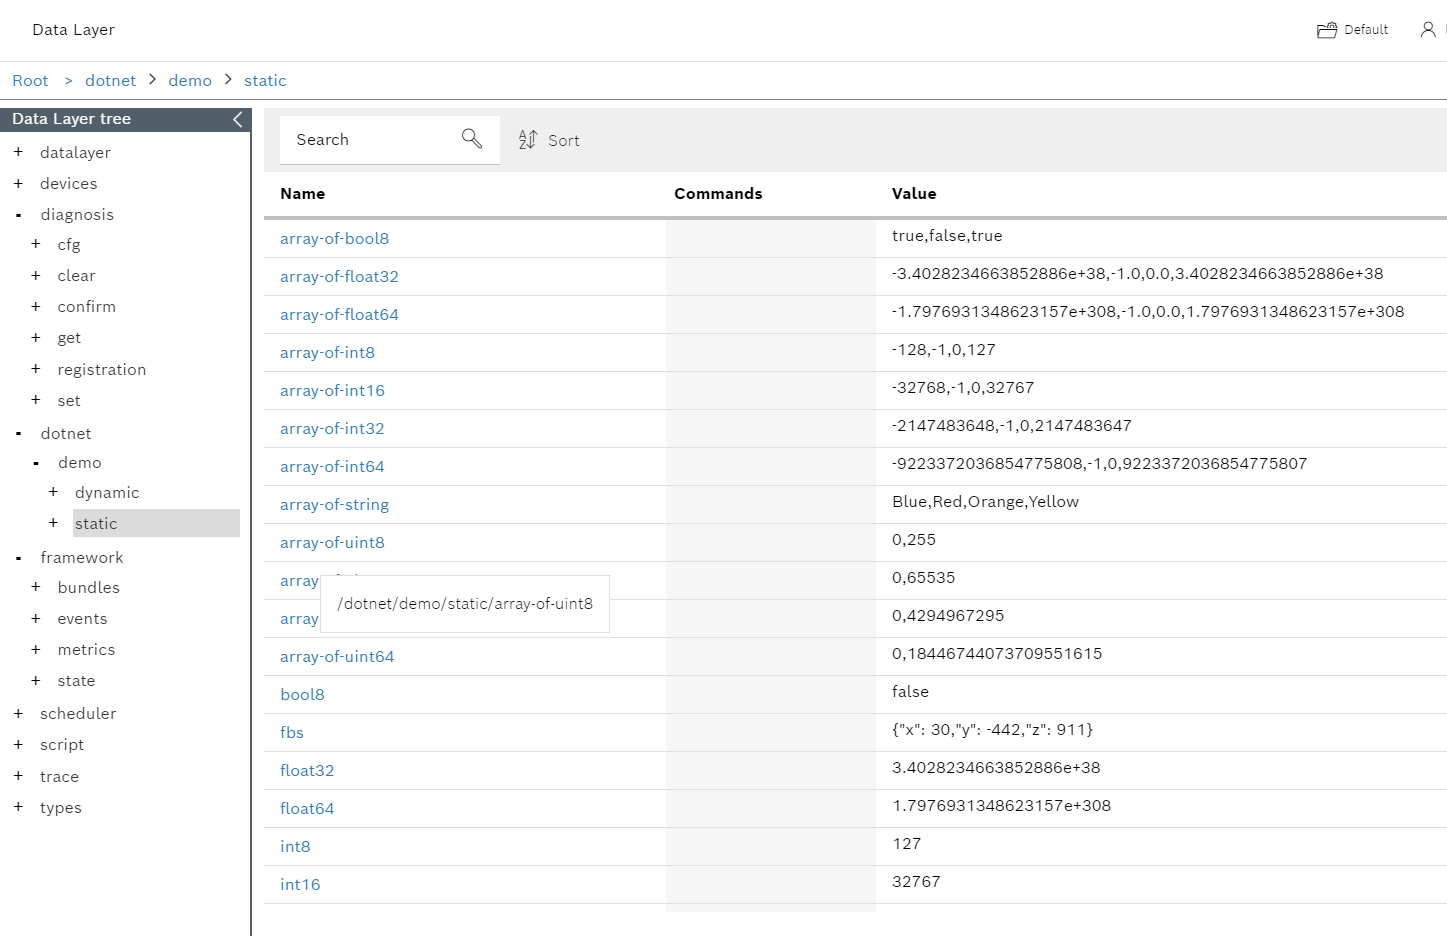
The sample demonstrates how to provide all available data types to ctrlX Data Layer tree. The demo creates a 'static' and a 'dynamic' folder under the root node 'samples'. The 'static' folder provides nodes with constant values. In the 'dynamic' folder the same nodes are provided as in 'static' folder but with changing value every second.
Description
The sample demonstrates
-
How to provide nodes with different data types to ctrlX Data Layer
-
How to create and provide meta data to nodes
-
How to provide nodes with read-only or read-write support
-
How to change node values dynamically
-
How to register a user defined flatbuffers type
-
How to read and write user defined flatbuffers nodes
Prerequisites
Please read the common .NET docs here, first.
Debug and Run
Launch the app with the debugger attached by pressing F5.
Build and Install
- Launch Visual Studio Code
- Click on the Remote Explorer from the menu.
- Choose Open Folder.
- Open the directory datalayer.provider.alldata.
- Build and install snap as described here.
- Checkout ctrlX Data Layer web frontend (Settings | Data Layer)
-
Check the output using Diagnostics:
-
Login into your ctrlX
- Navigate to Diagnostics -> Logbook
- Click Settings on the right top corner
- Enable Show system messages
- Navigate to Filter -> Units and check your snap.sdk-net-provider-alldata.app.service
- Now you should the see the app output diagnostics.
-
Press Refresh to update.
-
If you have root permissions, you can also watch the output on any ssh console with the command:
sudo snap logs sdk-net-provider-alldata.app -f | more
Screenshot
Install the App
Login into ctrlX and install the App (Apps).
Gratulations - We're finished - Let's start coding
Support
Developer Community
Please join the Developer Community
SDK Forum
Please visit the SDK Forum
Issues
If you've found an error in these sample, please file an issue
License
SPDX-FileCopyrightText: Bosch Rexroth AG SPDX-License-Identifier: MIT